How To Translate XLIFF Files?
XLIFF is the industry standard for localization in software development, website localization, and digital publishing. If you’re localizing mobile apps, web frameworks, or when passing content to translation management systems, you’ll commonly encounter it.
This guide covers:
- What XLIFF files are and how they work,
- How to translate XLIFF files with the help of Poedit
For a broader overview of the available software, see our comparison of XLIFF translation tools.
Understanding XLIFF Files
An XLIFF file is a container that pairs source strings with their translations, along with metadata to help translators do their job accurately. Because XLIFF is tool-agnostic, it works across CAT tools, TMS platforms like Lokalise, Crowdin, and POEditor, and code pipelines alike.
Here’s how XLIFF structures look like:
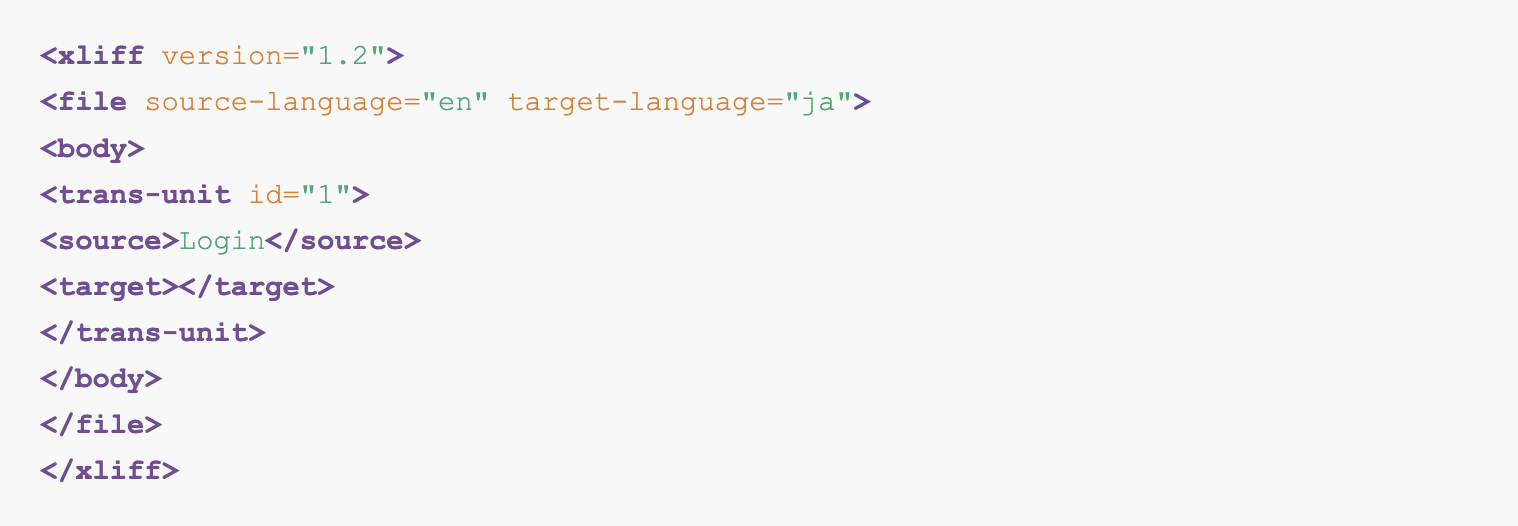
In any XLIFF file, you should see:
- <xliff> is the root element that declares the version and namespace
- <file> represents one source file being translated; it carries source-language, target-language, and original (the file path)
- <header> is optional metadata for project notes, tool info, and reference files
- <body> is where all the strings live
- <trans-unit> is the atomic unit; one per string, with a unique id
Inside a <trans-unit> you have:
- <source> is the original string in the source language
- <target> is the translated string in the target language, left empty until a translator fills it in
- <note> is an optional field for leaving context or instructions for the translator
A basic XLIFF translation workflow looks like this:
- Developer exports source strings → XLIFF generated
- XLIFF gets sent to translator / uploaded to TMS
- Translators fill <target> fields, or a tool fills in programmatically with the help of AI
- Completed XLIFF imported back to the app
- The app rebuilds with translations
How to Translate XLIFF Files
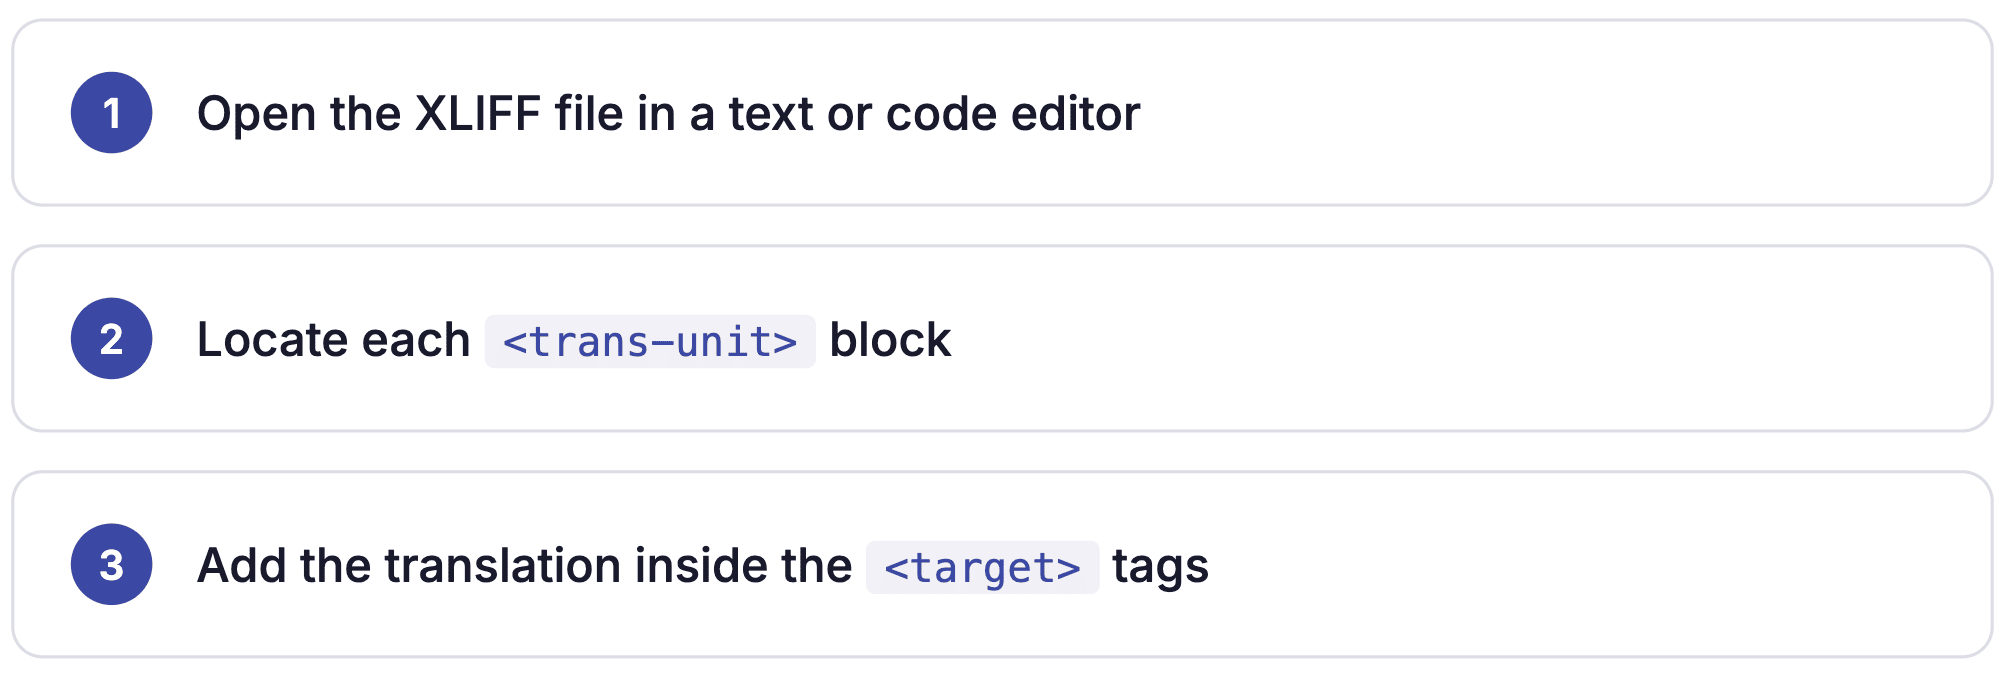
Translating XLIFF files is mainly about following a structured editing process. Your task is to translate the visible text and leave the structure untouched.
1. Open the XLIFF file in a text or code editor
If you only need to open an XLIFF file, technically, you can use almost any text or code editor because XLIFF files are standard XML files. VS Code, Sublime Text, Notepad++, and even basic editors can open them.
As files get larger, XML syntax highlighting can become hard to use. Color-coded tags and placeholders help make big localization files easier to scan, especially when translation units and metadata fill hundreds of lines.
2. Locate each <trans-unit> block
Every translatable string lives inside a <trans-unit> element. These blocks contain:
- the original source text
- the translation target
- IDs and metadata used during reimport
Each unit maps to a specific UI text element in the application — a button label, tooltip, menu item, onboarding message, or validation error.
Once the file grows past a few hundred strings, XML folding and node search become essential.
3. Add the translation inside the <target> tags
The original text appears inside the <source> element. Your translation goes inside <target>.
One rule applies here: change only the translatable text, leaving everything else exactly as exported. The localization system uses those IDs and placeholders to reconnect translations to the right UI text during import.
How To Translate & Edit XLIFF Files With Poedit
Poedit opens XLIFF files in a clean, string-by-string interface, so translators work directly with the text that needs translating instead of navigating around the surrounding XML. It also flags issues like missing or mismatched placeholders and inconsistent tags before the file goes back, catching the kinds of errors that break a build or corrupt the markup, and you simply save the file in place when you’re done.
Step 1: Download Poedit
Install Poedit on your desktop and open the application.
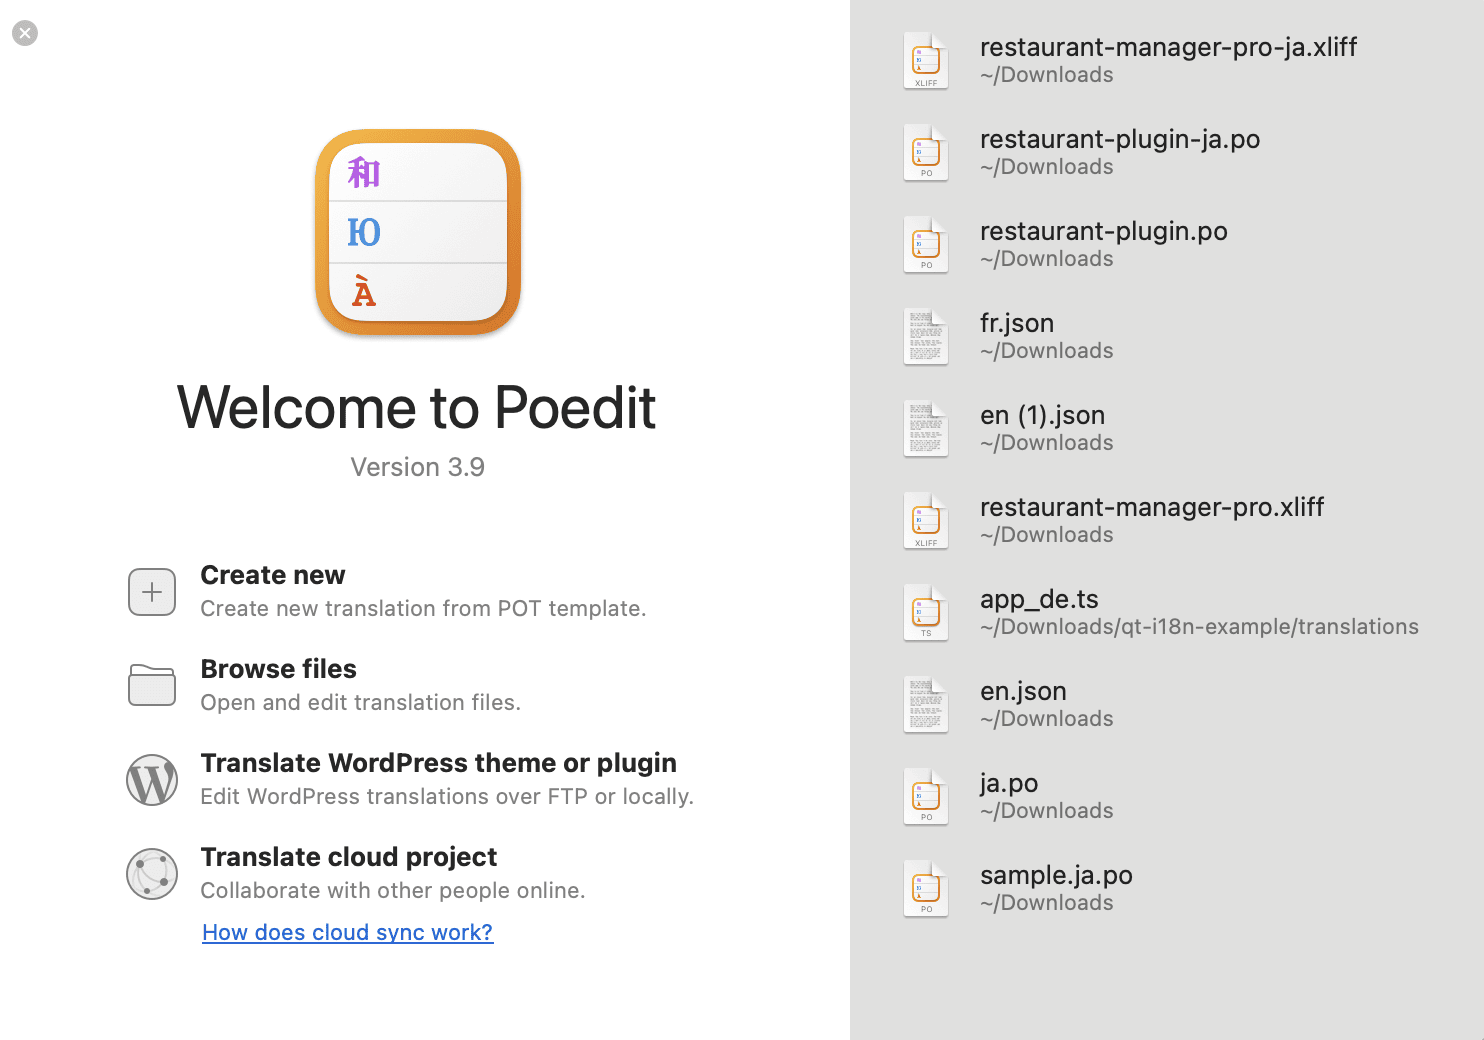
Then:
- Select Browse files→ Open
- Browse for the XLIFF file
- Import it into the editor
As an XLIFF file translator, Poedit automatically organizes the XLIFF file into readable translation entries, so translators don’t have to work directly inside raw XML.
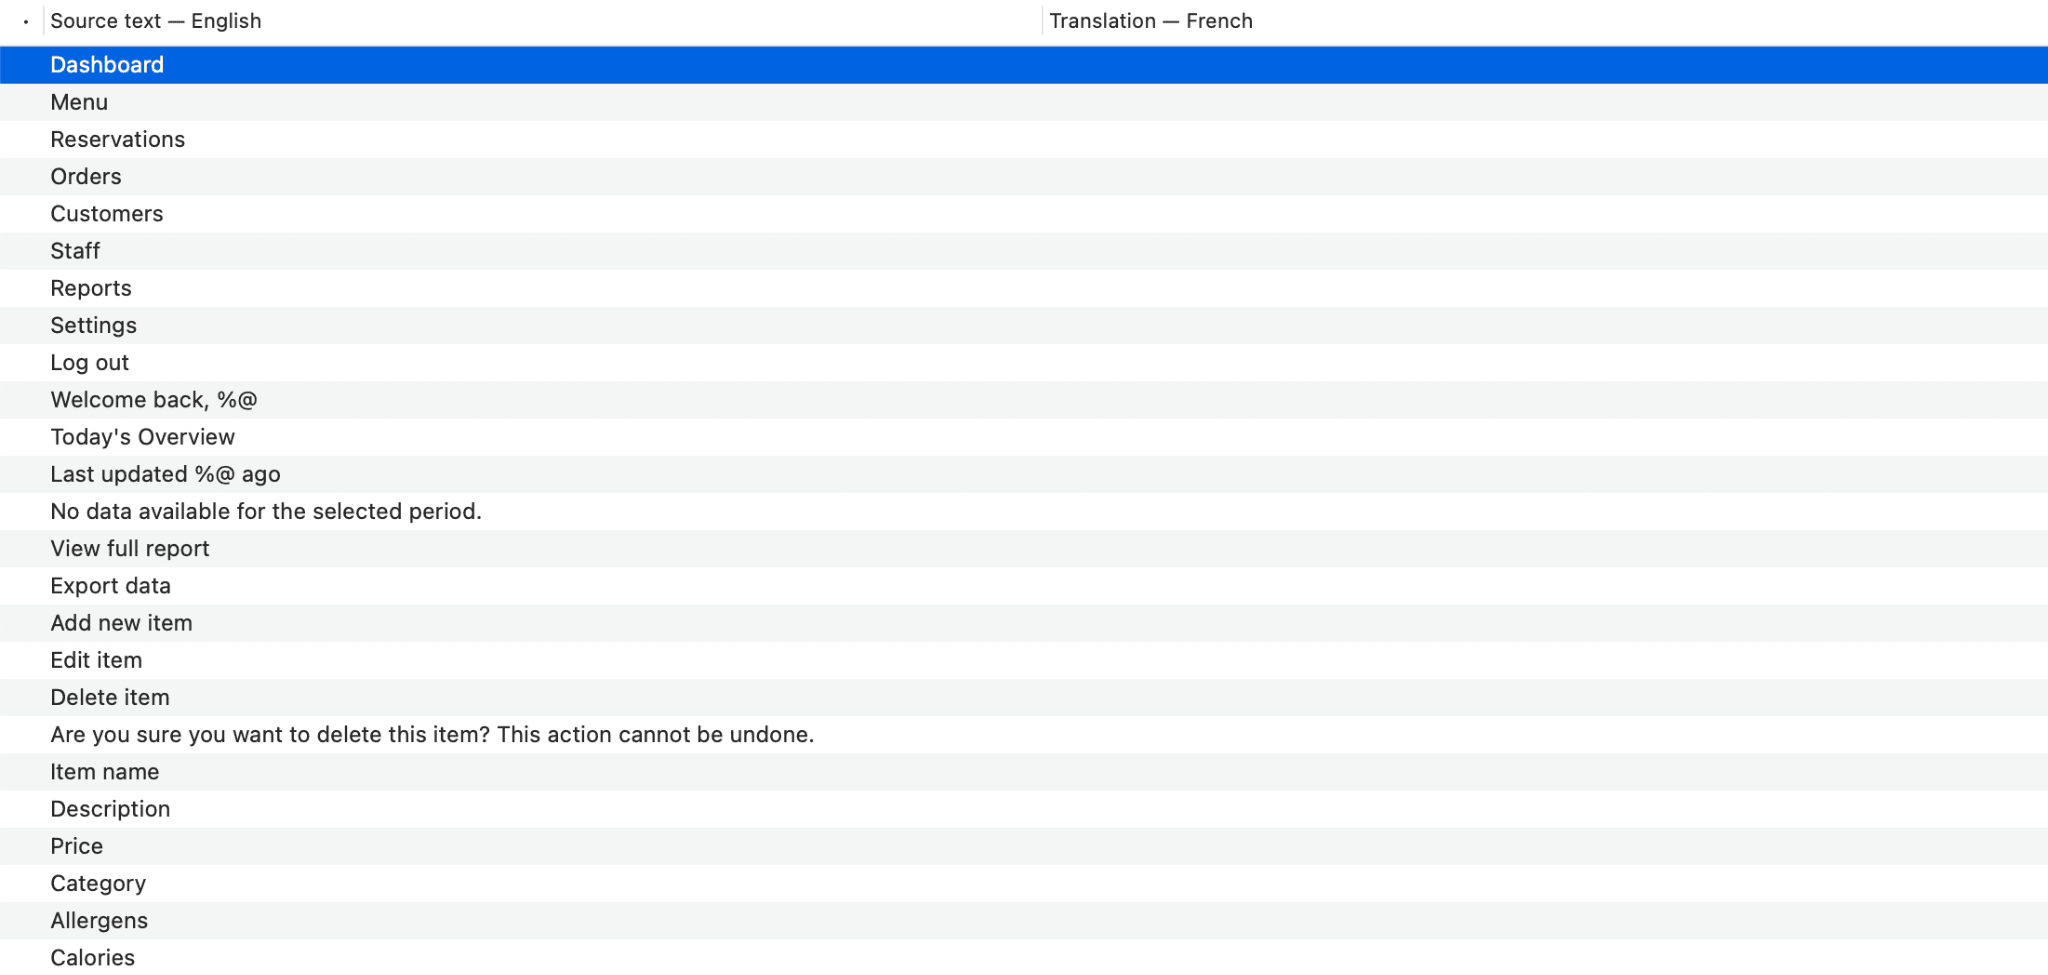
Step 2: Navigate the translation entries
Instead of editing XML manually, you’ll work with individual text segments.
Each entry includes:
- Original content or the source text
- Translation field
- Suggestions
- Notes for translators

This is considerably easier than scanning the XML line by line once localization files become large.
Step 3: Translate carefully
Enter the translated text for each segment or choose from the tool’s suggestion box while preserving any technical elements included in the string.
Do not remove or alter:
- HTML tags
- Variables
- Formatting placeholders
For instance:
Original:
Welcome back, %@
Correct translation:
Bon retour parmi nous, %@
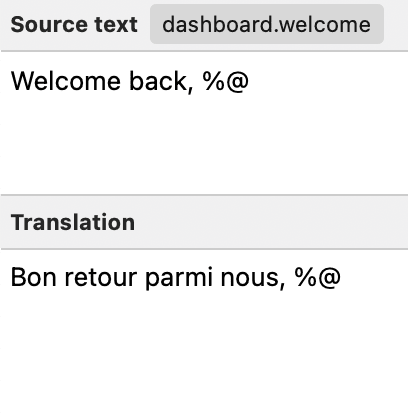
The placeholder must stay unchanged for the application to function properly.
Step 4: Use built-in translation assistance
Poedit includes features like translation memory and suggestion matching. These features help to maintain terminology consistency and reduce repetitive translation work.
Poedit’s advanced pre-translation can combine translation memory with supported machine translation services to process untranslated entries quickly.
Step 5: Validate the file
Before you finish the translation, review the file for any possible issues.
- Go to the Translation tab → Validate Translations
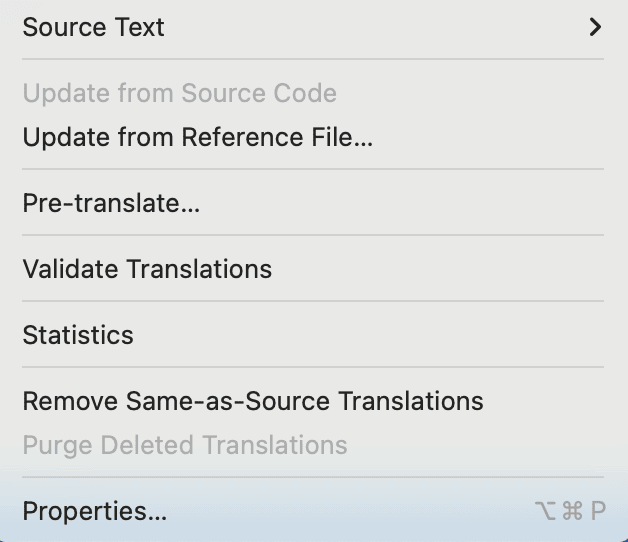
Poedit checks translated entries for issues such as missing placeholders, inconsistent punctuation, or suspicious length differences.
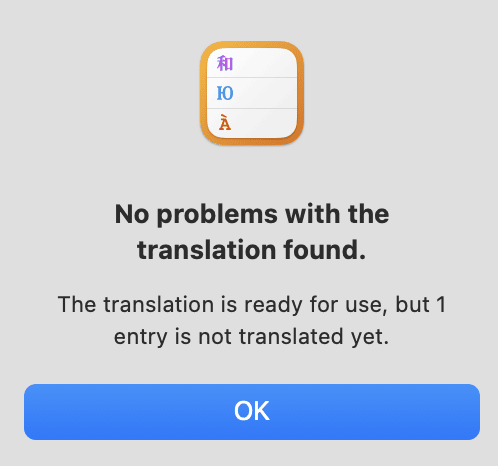
Step 6: Save the completed translation
Once the validation is complete, simply save the translated project. After that, reimport the file into the application or localization system.
3 More Tools For XLIFF File Translation
Different XLIFF tools solve different problems. Some are useful for quickly editing translation files locally, while others are built for larger localization teams managing multilingual releases and review workflows across products.
1. Crowdin: Best for enterprise localization automation
Crowdin connects directly to your repo, CMS, or other systems, so source content stays up to date for translators and finished translations flow back automatically.
Crowdin also supports cloud sync with Poedit, where the day-to-day translation work can happen. Translators can:
- Open files from a Crowdin project in Poedit
- Work in its clean string-by-string interface (with translation memory, pre-translation, quality checks, and statistics on hand), even offline or on the go
- Then sync everything back to Crowdin once they’re done.
The result is a setup where Crowdin handles the pipeline and automation while Poedit gives translators a focused editor for the actual strings, without anyone touching raw markup or managing files by hand.
Please learn more about the integration here.
2. memoQ: Best for collaborative localization teams

memoQ is often where larger localization teams end up once spreadsheet-based review workflows stop scaling. The platform is built around collaboration, terminology consistency, and large multilingual projects where multiple translators and reviewers work simultaneously.
3. Smartcat: Best for cloud-based collaborative translation

Smartcat is useful for teams that want everything in the browser instead of managing desktop tools and scattered review files. Translators and reviewers can work inside the same project, which makes collaboration a little less chaotic during larger localization cycles.